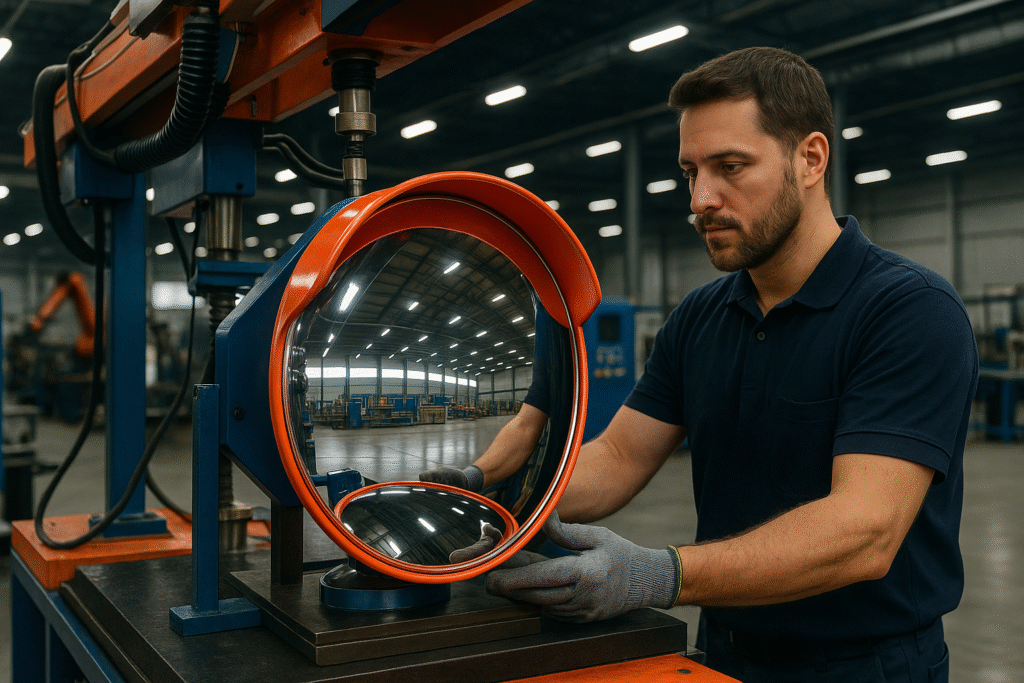
Convex driveway mirrors, commonly mounted on poles, play an essential role in enhancing visibility for drivers exiting homes, commercial driveways, warehouses, and parking facilities. For B2B buyers, including traffic safety product distributors, contractors, and public sector procurement managers, understanding the correct installation procedures is as important as sourcing high-quality convex traffic mirrors.
This comprehensive guide is written specifically for distributors and resellers of convex driveway mirrors. It offers a professional breakdown of installation techniques, hardware configurations, positioning best practices, and key product considerations to ensure performance, safety, and customer satisfaction.
(Understanding the Product) What Is a Pole-Mounted Convex Driveway Mirror?
A convex driveway mirror on a pole is a wide-angle reflective traffic mirror mounted on a vertical post, typically installed at the exit of driveways, alleyways, or blind corners. These mirrors enable drivers to view approaching vehicles or pedestrians when normal visibility is obstructed due to fences, hedges, walls, or buildings.
Manufactured from materials like polycarbonate, acrylic, or stainless steel, these convex mirrors are designed to offer:
- A wide-angle view with minimal distortion
- Weatherproof and UV-resistant durability
- Adjustable brackets for precise positioning
- Mounting options for vertical poles, walls, or fencing
For distributors, offering pole-mounted convex traffic mirrors provides an ideal solution for end-users seeking enhanced safety in both residential and commercial driveways.

Step-by-Step Installation Process
For B2B buyers or installation service providers working with traffic mirror products, the following step-by-step guide outlines a standardized method for installing convex driveway mirrors on poles.
- Site Assessment
Before installation, conduct a comprehensive assessment of the site. Key factors to consider include:
- Distance from driveway to roadway
- Height of the mirror above ground level (typically 1.8–2.2 meters)
- Viewing angle and required field of vision
- Potential obstructions (e.g., trees, signposts, fences)
- Pole location (concrete sidewalk, soil, gravel, etc.)
Choose a location where the mirror offers a clear, uninterrupted view of the oncoming traffic or pedestrians.
- Choosing the Correct Pole and Mounting Hardware
Convex driveway mirrors are commonly mounted on round galvanized steel poles, with diameters ranging from 48 mm to 76 mm. These poles should be:
- Corrosion-resistant
- At least 2.5 meters long for above-ground installation
- Compatible with the mirror’s bracket system
Mounting hardware typically includes:
- U-bolts or saddle clamps (galvanized or stainless steel)
- Adjustable swivel arms
- Mirror backplate or frame brackets
Most reputable convex mirror manufacturers include the mounting kit in the package or offer them as add-ons for bulk orders.
- Preparing the Pole for Installation
Depending on the location surface, you can install the pole in one of two ways:
a) Concrete Foundation (Most Common)
- Dig a hole approximately 60 cm deep and 30 cm in diameter.
- Insert the pole and fill with concrete mix.
- Allow 24–48 hours for curing before mounting the mirror.
b) Bolt-Down Baseplate (For paved surfaces)
- Use a pole with a welded baseplate.
- Drill holes and use expansion bolts to secure the pole to the concrete surface.
This method is quicker but best suited to low-vibration environments like residential settings or light commercial zones.
- Attaching the Mirror to the Pole
Once the pole is secured, follow these steps:
- Position the convex mirror at the desired height (generally eye level of an average driver seated in a car).
- Use the adjustable brackets to angle the mirror for maximum visibility across the blind spot.
- Tighten the U-bolts securely, ensuring the mirror is stable and does not wobble under light wind.
- Use a spirit level and perform a visual test to verify optimal placement.
Make sure the mirror is slightly tilted downward to avoid glare from sunlight or headlights.
- Final Adjustments and Safety Check
After mounting, step into the vehicle or simulate the driver’s position to confirm that the mirror’s field of view aligns with the desired traffic path. Ensure:
- No visual distortion
- No pole obstruction in the mirror’s frame
- Adequate visibility at night (consider placement near existing lighting)
If needed, use shims or additional clamps to make micro-adjustments to the angle. For long-term installations, apply anti-theft bolts or tamper-proof fasteners to deter vandalism or theft.

Key Technical Considerations for Distributors
Distributors and resellers of convex traffic mirrors should be familiar with the following technical specifications and considerations when assisting buyers or contractors:
a. Mirror Size Recommendations
- 30 cm: Suitable for pedestrian zones or tight residential exits
- 45–60 cm: Ideal for residential driveways and small parking lots
- 80–100 cm: Best for industrial driveways or large commercial spaces
Larger diameters offer greater field of view but require stronger mounting support.
b. Material and Build Quality
- Polycarbonate: Shatterproof, UV-stabilized, ideal for outdoor use
- Acrylic: Lightweight, economical, slightly less impact resistant
- Stainless Steel: Highly durable, scratch-resistant, vandal-proof
Frame materials may include ABS, PVC, or powder-coated steel, chosen for weather resistance and aesthetics.
c. Mounting Bracket Compatibility
Distributors should stock universal brackets compatible with multiple pole diameters and mirror sizes. Brackets with swivel joints offer better field adjustments for users with limited installation space.
d. Packaging and Shipping
As convex mirrors are delicate, proper packaging is essential to prevent warping, lens scratches, or bracket damage. Ensure:
- Foam padding or bubble wrap
- Mirror surface film protection
- Reinforced cardboard or wooden casing for international shipments
Distributors offering resell or drop shipping services should choose manufacturers with tested packaging processes to reduce return rates and product damages.
e. Branding and Customization Options
Distributors targeting municipalities, security firms, or commercial property managers may benefit from custom offerings such as:
- OEM branding
- Custom frame colors (e.g., red-white, yellow-black)
- Anti-fog or anti-glare coatings
- Engraved logos or property ID plates
Professional manufacturers may offer MOQ-based customizations and white-label services for B2B partners.

Post-Sale Support and Maintenance
Although convex mirrors are generally low maintenance, buyers and installers should be educated on periodic upkeep:
- Clean lenses every 3–6 months using a microfiber cloth and mild detergent
- Inspect brackets annually for rust or loosening
- Replace mirrors with signs of discoloration, warping, or visibility distortion
Distributors can provide value-added services by offering replacement hardware kits, mounting accessories, and mirror care guidelines.
Conclusion
Installing a convex driveway mirror on a pole is a straightforward yet essential task that significantly enhances traffic safety for private residences, commercial facilities, and industrial access points. For distributors and professional resellers, understanding the installation process, hardware requirements, and technical specifications is key to serving B2B clients effectively.
By providing comprehensive guidance, reliable product support, and high-quality convex traffic mirror solutions, you can position your business as a trusted partner in the growing global market for road safety equipment. Proper installation ensures customer satisfaction, long-term performance, and real-world accident prevention—a win for everyone involved.
Looking for a custom convex mirror manufacturer or supplier? Struggling to find the right factory to bring your vision to life? We’ve got you covered! At our place, we craft top-quality convex mirrors with precision and care. Big or small, your needs are our mission. Let’s launch your mirror project and take your product line to the next level! Click here to contact
